Showing posts with label guest blogger. Show all posts

Thursday, July 25, 2019

Dear Readers,

I have a plan to show you Irina, aka Orangerinka, our Guest Blogger fantastic story.
She is a creative and talented artist. She has sweet original painting and digital art items.

Today's story is about the little girl, Simon and the fox. A fox family lives near to my house - ok it's not so difficult, we live in the corner of the last street of our little village, around us is everything green. I woke up early today and the first thing I saw was a fox running in the cherry garden next to us. I immediately remember Irina's cute post and I would like to share with you.

For the curious ones, she have all the pics under the hashtag #simonthefox_and_chloe on IG  she also have made a doll and a foxy toys too.

Let's see her story:


"It felt right to start with the very first pic when they occasionally appeared, though it’s not when their story begins.


Part 1

Chloe is a little ginger girl who lives in a small town by the sea. She lives with Mom and Dad in a house on the hill, and her older brother is a sailor. So she has that thing with lighthouses which show him the way and seagulls who can occasionally tell him hello from her.
When she was about 6 years old, she once ran to the grove near their house and stumbled upon a fox cub. Very soon they became best friends and so their adventures began
Our story begins on one sunny day in July, when little ginger girl named Chloe was hunting ladybugs in the grove, which was right behind their house on the hill.
Well, one can not name this just “hunt”, but this was Chloe’s word. For when the girl is big enough not to believe that childish rhyme about Ladybug, she can just go and see with her own eyes, where the bugs live. [Chloe is about 6 years old here, but I’m not sure if kids of this age are generally chubbier]
And there were hundreds of ladybugs that summer. Chloe’s Mommy said it was because they must have plenty of food, that they were defending the plants against aphids.
So Chloe just decided to go where there were more bugs and there their home must be. Everyone has to live somewhere, right?
She ransacked the grove all over, looked under the stones and in the trees, but no signs of ladybugs’ home.
Suddenly Chloe saw a thick bush which was covered with bugs. “Here!” – she thought, and crawled into the middle of the bush. But… who did she saw there?


A tiny red fox cub was staring at her with curiosity. “Who are you?” – asked the fox. “You have red fur like me, but you are so big. Are you a fox?”
“No, I’m a girl. I’m Chloe. Shall we be friends?”
“My mom calls me Simon. I’m Simon the big fox! But my brothers say I’m not big at all! They went hunting together but left me here. I’m so lonely ”
“Don’t be sad, said Chloe. Let’s play!”
And they chased each other in the grass, among the trees, up and down the hill, until the stars lit bright in the sky. Chloe hugged her new friend and Simon licked his not-really-a-fox redhead friend on the cheek. They promised to meet the next day and went home.

To be continued…."

PRESENTED TO YOU BY OUR LEADER:

Hi, my name is Ildi. I really enjoy the process of making pottery: I sit down at a table with clay and try to make something that I have an imagination of. I want something and the clay wants something but in the end I can work until I am most satisfied with the outcome.


Saturday, February 1, 2014

The Art of Handcrafted Cards

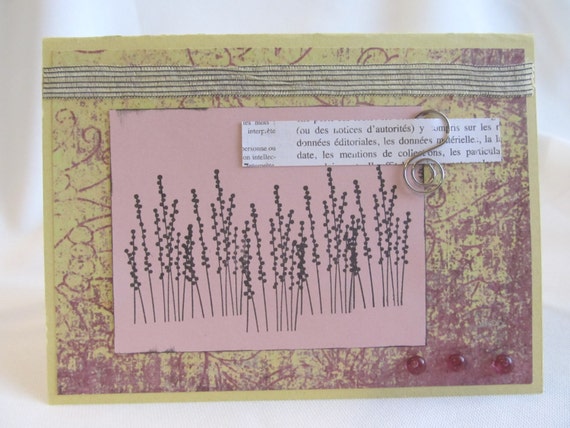
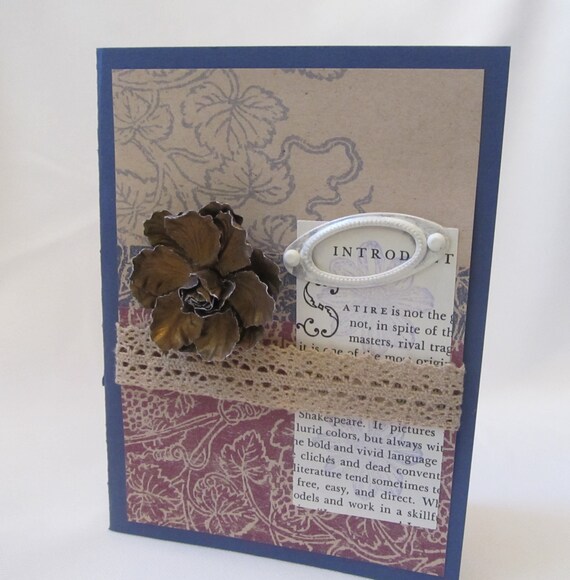
Hello! My name is Beth and the name of my shop is Pretty Byrd Designs. I make handcrafted cards, journals, tags and decorative boxes.

I’ve always had a love of paper and playing around with color and texture. Not considering myself an artist, I nevertheless dabbled in painting and drawing and calligraphy for a bit. One day I signed up for a card-making class at our local library -- I was hooked.

I began making cards for my own use, to send to family and friends. But my love of creating took over and I found myself with more cards than I could possibly use. I began selling them to friends, at local shops and at craft shows. I opened my etsy shop one year ago.

It’s rare for me to know ahead of time what my finished card will look like. Most of the time I let the paper, ribbon, ink and embellishments guide me. I’ll start off with a basic theme or concept but it is only after I sit down and start sorting through different papers, rubber stamps, ribbon and so forth that my card evolves. Sometimes it happens right away. Other times it takes hours.

Here’s an example of what I might start with:


I’ll play around with ideas for a layout:


Eventually I might end up with something like this:


I tend to focus on flowers, botanical images and nature.


Vintage style items have always caught my eye. The popularity of shabby chic is a trend I have really embraced. I love working with lace, burlap, and small decorative embellishments.


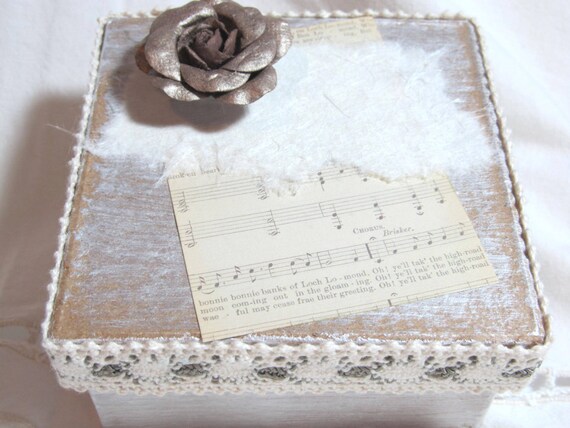
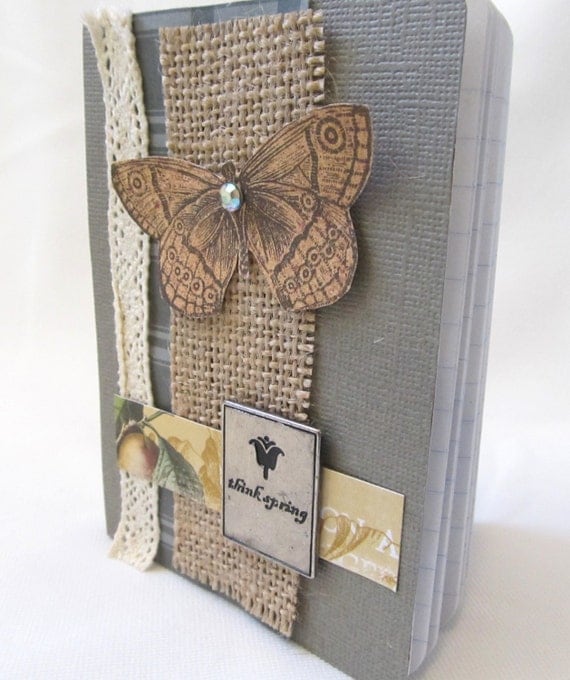
My creativity has taken me in new directions also and I began to make mini journals and decorative boxes:


There are so many sources for inspiration – nature, magazines, books, a scrap of paper or a piece of fabric. Walking through the craft shops is always exciting … but can be expensive!!

I am thankful for my customers and take pride in offering them a unique and handcrafted item. It is my hope that they enjoy their purchase and take pleasure in having something made with much thoughtfulness. 

You can visit Beth's shop at : www.etsy.com/shop/prettybyrddesigns

* * *

Meet our Guest Blogger Beth from Pretty Byrd Designs :

Pretty Byrd Designs was opened in 2013 as a way to offer my handcrafted cards and paper goods. I am a secretary by day, but my true passion is in designing and creating paper crafts. I welcome you to visit my shop and browse around. It would be my pleasure to help you with a card or gift for any occasion.


Saturday, January 18, 2014

Introduction to Fiber Art Designs, Thread Embroidery & Silk Ribbon Embroidery

Hi, I’m Nancy. I’m an arts and crafts enthusiast. I live in the entertainment capital of the world, Las Vegas, Nevada! Instead of spending my time and money on the strip gambling and seeing all of those awesome shows and concerts I choose to do my own style of entertainment, crafting and making a little winnings from them to boot!
Today's article is an introduction to fiber art designs, thread embroidery and silk ribbon embroidery.
My Etsy shop, called onestitchaway1is where I share my original, quirky fiber art designs in which I have incorporated vintage inspired embroidery stitches and silk ribbon embroidery.  The base fiber I use for my animals is felt that has been recycled from post consumer plastic bottles!  How do they do that? And my unusual Lady Bug hot pads are made of recycled lady’s suit fabric.

What is Fiber Art?  

Fiber art is defined as the binding of fibers into nonfunctional forms as works of art.  For example, here are some items created by team members that fall into this category, as "felted animals":


Fiber art works can also be works of art that communicate some sort of message, emotion or meaning and go beyond just the literal meaning of the materials. Wall hangings and artificial floral wedding bouquets are an example of this. 


Crazy quilters have taken it a step further by adding thread embroidery and/or silk ribbon embroidery to their work.  Of course, these last two art forms are used in many, many other fiber art mediums.


In this day and age we have become very clever in the use of fibers such as in vintage or just plain old clothing by altering the piece to update it or give it our own flair like the jacket pictured below, fashion accessories that are eye-catching such as the mittens pictured below and home decor that brighten up and give it character.  All of these make a functional part of our daily lives. 


This article hopefully will inspire fabric crafters to try these different methods of handiwork taking their project to the next step by enhancing their fabric art.  Happy creating!

* * *

Many thanks to our guest blogger, Nancy!

Visit Nancy's shop on Etsy : https://www.etsy.com/shop/onestitchaway1


PRESENTED TO YOU BY OUR LEADER: 


My name is Natalie. I am a French-Canadian gal, but I live in South Korea. My passion is called "Hanji" : sumptuous Korean paper made of mulberry pulp. Hanji has been used for a thousand years in Korea to create decorative or ceremonial objects. For me, it is essential to offer useful and practical objects, that can enjoyed on a daily basis. Tissue cases, pen holders, piggy banks, fridge magnets: let the beauty and unique character of Hanji make our everyday life objects irresistible!


www.etsy.com/shop/HanjiNaty

Follow Natalie's Blog For The Latest Updates To Her Shop

www.hanjinaty.com


Friday, September 27, 2013

Affordable Bath And Spa - Make Your Own Bath Salts DIY Tutorial

Pamper yourself with homemade bath salts and spa soaks! Learn from this quick and simple DIY tutorial courtesy of Clare from Mylana. LOVE that beautiful baby blue color :-) Enjoy!

Lavender Bath Salts Packaged in a Gift Jar

Who doesn't like to relax in a hot, aromatic bath after a stressful day? If you are looking for a fun and easy project to make for a spa treatment or gifts, bath salts are a simple project to make, with endless packaging options.

You only need a few minutes and a few ingredients, but, there is one very important precaution to take, and that is to use only skin safe fragrance and/or essential oils in the recommended amounts. Sure, any old oil or flavoring extract from the grocery store might smell good, but they can also burn your skin. While completely natural, not all essential oils are safe for skin and need to be used in the appropriate dosages. Please research your oils before purchasing them, even the natural ones.

For the sake of safety and cost, I used an artificial lavender fragrance from a well know supplier, who provided usage ratios for my product. I limited the amount of fragrance to 2% in order to minimize itching or burning reaction. Please do not add more scent oil to your salts that recommended by the supplier!


MATERIALS

salt (food safe salt, do NOT use rock salt for ice melting)
epsom salt
baking soda (optional)
skin safe fragrance or essential oil
food safe dye
large rubbermaid bin with lid
wooden spoon or scoop
plastic gloves
jars for packaging
scale


* Make sure to put on your gloves, for this messy project! *


INSTRUCTIONS:

Step 1:

Combine your basic recipe in the clean rubbermaid bin. You can choose either A or B.

A= 1 part baking soda, 1 part table salt, 1 part epsom salt
B= 1 part salt, 1 part epsom salt

Step 2 :

Add a few drops of food coloring in the desired shade to the salt mixture. Then, add your fragrance or essential oil at a rate of no greater than 2% by weight. Add food color sparingly, as too much color will result in heavily dyed bath water than can stain tubs and washcloths.

Step 3 :

Put lid on bin and shake vigorously.

Step 4 :

Remove lid and allow mixture to dry for 24-48 hours before packaging. Shake and stir the ingredients as needed to disperse the dye and scent.

Step 5:

Use 1 cup in a hot bath to relax!

Please note, you can use any salt you want, as long as it is safe food food and has no additives. Depending on how much you wish to spend, online suppliers offer exotic salts, such as pink Himalayan or you can use regular Morton salt from the grocery store. I like to buy my salts at the natural food store where I can select coarse and fine sea salts from the bulk bins. Larger salt will take longer to dissolve in the bath.


Meet Our Guest Blogger Clare from  Mylana :

I have been making all types of soap and candles for about 10 years and I started making jewelry and altered art in 2009. Additionally, I dabble in other crafts such as ceramics, painting, and formulating other bath and body items. My shop name is from the game World of Warcraft. I love fantasy literature and games. Mylana was the name of my first WOW character, a troll priestess.

Many thanks to Clare from Mylana for having shared this wonderful and easy Bath and Spa Tutorial with us :

http://www.etsy.com/shop/Mylana

Spread some SPST love and support your fellow Teammies :-)