Showing posts with label craft tutorials. Show all posts

Saturday, January 31, 2015

Renew or Re-Do Old Listings? Bringing a Fresh Perspective to Your Shop for 2015

The Allure of the New

I've been making and selling jewelry on Etsy for about 5 years.  I have found that my "eye" for jewelry design (my own and others' creations) is always developing and changing.  I am always eager to explore new materials and try new ideas.  In fact, the quest for the "new, rare, one-of-a-kind" element (beads, pendants, etc.) that will make the next piece a knockout can become obsessive!

Reviewing the Old

In the New Year, however, I decided to take a critical look back at items that had expired or been renewed multiple times.  Some of those pieces represent a significant investment in materials. But instead of helping me fund new supplies (or recoup past expenses) they were just 'sitting on the shelf.'

The first older piece I redid with a new vision of its possibilities sold almost as soon as it was listed. Other pieces I've redone haven't sold yet, but I'm happy that they better represent who I am now as a jewelry designer.  Not all crafts lend themselves to makeovers as easily as jewelry, but looking back at past creations and reflecting on what worked and what could be stronger can help all artists to grow.


Look Elsewhere

Looking objectively at your own work isn't easy, however.  Here is the single most important tip I've found for bringing a fresh eye to your own pieces:  Look elsewhere first!  Go hunting for inspiration! Look at a LOT (hundreds, at least) of creations by other people working in your craft.  Don't limit yourself to a single style or time period or theme, or to what you already know you like--just look for ANY jewelry (or pottery or fiber art) that makes you catch your breath, makes you want to reach out and touch.

Make an Inspiration Gallery

Use Pinterest or your Etsy favorites to make a good-sized collection of the pieces that resonate for you. Do you notice any patterns, colors, or small details that stand out in the pieces you especially love?  Which ones surprise you or intrigue you the most?

Don't worry about being influenced by other artists' work.  As long as you're not copying someone's creation, there is nothing wrong with absorbing fresh influences and then bringing them into your own creative process.  Artists have always been inspired by each others' creations. Chances are, when you come back to your own pieces, new possibilities will jump out at you.

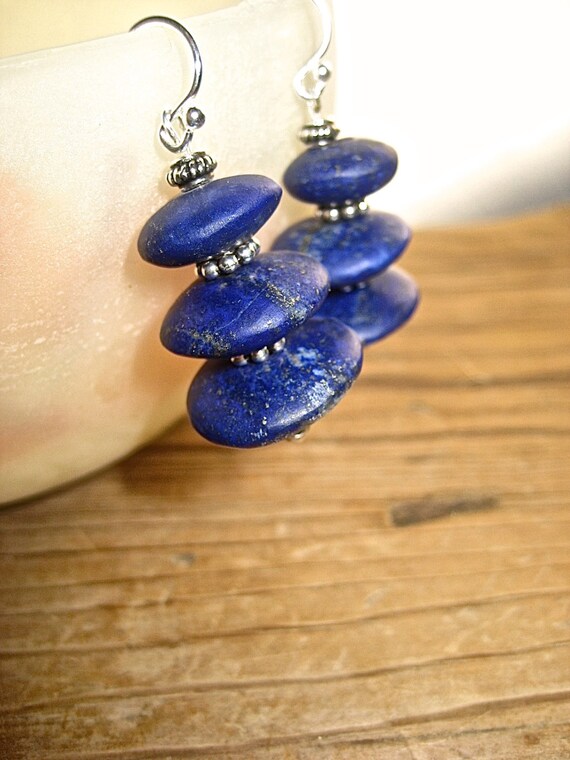
Here are some pieces by other jewelry designers that caught my eye--and some words for what inspires me in them:
Storytelling, Asymmetry, Unexpected, Bold Colors


Small Changes Add Up

One other tip I've learned from revising my past jewelry designs:

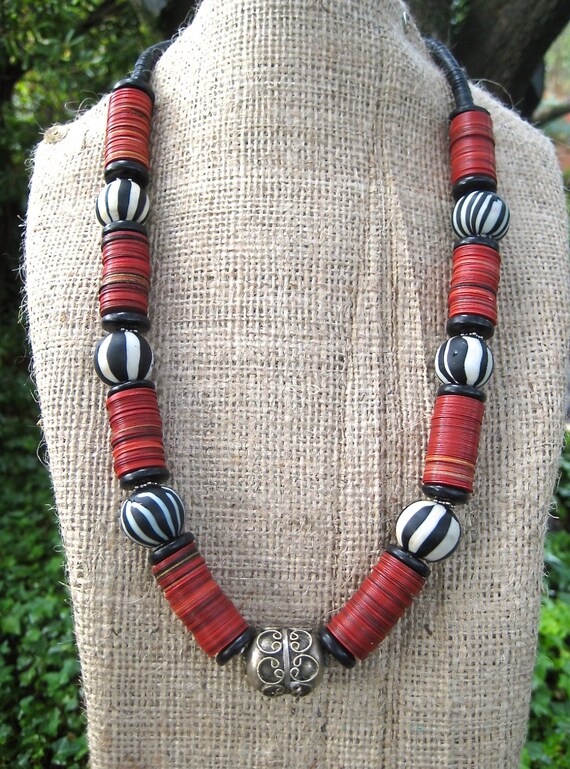
Sometimes a small change can make a piece feel new.  Here is one piece I redid, adding a pendant to give the necklace more interest.


Sometimes, also, a new photo of the same piece may be all that's needed!  Product photography is another topic and a HUGE challenge for jewelry sellers--one I'm still working on.  I just bought my first DSLR camera--now I need to learn how to use it!

There is certainly more to growing and developing your shop than revising older listings. But if you make pieces that can be altered, looking back at older listings might present the opportunity to refresh past creations, revitalize your shop, and boost your sales for 2015.


PRESENTED TO YOU BY OUR LEADER:

Once upon a time I wanted to grow up to be an artist. As it turned out, I became an English teacher (which I loved) and a mother of two amazing children (which I loved) and somehow I never found much time for art. When I started exploring crafts, it was like a flip got switched. There is now paint and paper, shells and driftwood, beads and wool and more beads spread all over my kitchen and I feel like a child who doesn't want to stop playing...


Saturday, February 1, 2014

The Art of Handcrafted Cards

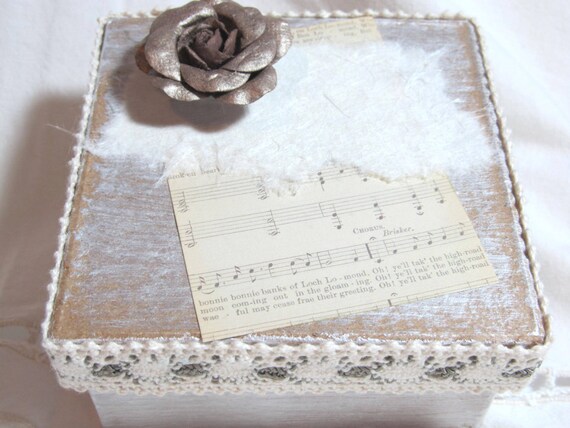
Hello! My name is Beth and the name of my shop is Pretty Byrd Designs. I make handcrafted cards, journals, tags and decorative boxes.

I’ve always had a love of paper and playing around with color and texture. Not considering myself an artist, I nevertheless dabbled in painting and drawing and calligraphy for a bit. One day I signed up for a card-making class at our local library -- I was hooked.

I began making cards for my own use, to send to family and friends. But my love of creating took over and I found myself with more cards than I could possibly use. I began selling them to friends, at local shops and at craft shows. I opened my etsy shop one year ago.

It’s rare for me to know ahead of time what my finished card will look like. Most of the time I let the paper, ribbon, ink and embellishments guide me. I’ll start off with a basic theme or concept but it is only after I sit down and start sorting through different papers, rubber stamps, ribbon and so forth that my card evolves. Sometimes it happens right away. Other times it takes hours.

Here’s an example of what I might start with:


I’ll play around with ideas for a layout:


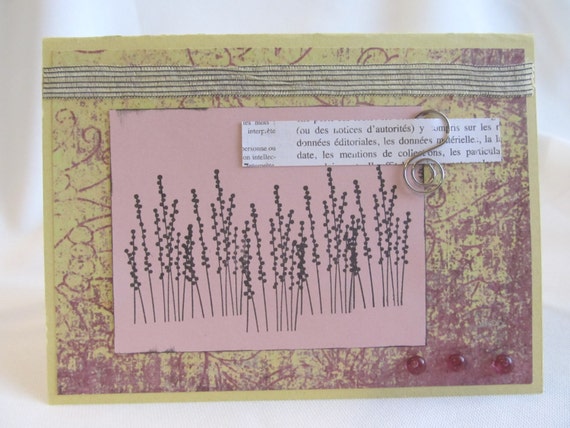
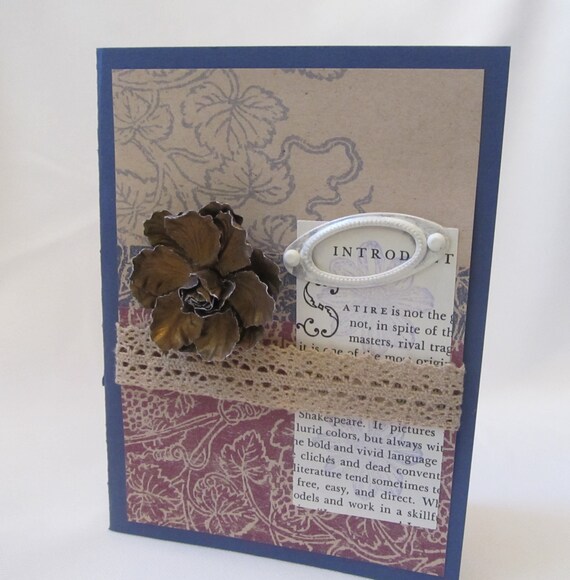
Eventually I might end up with something like this:


I tend to focus on flowers, botanical images and nature.


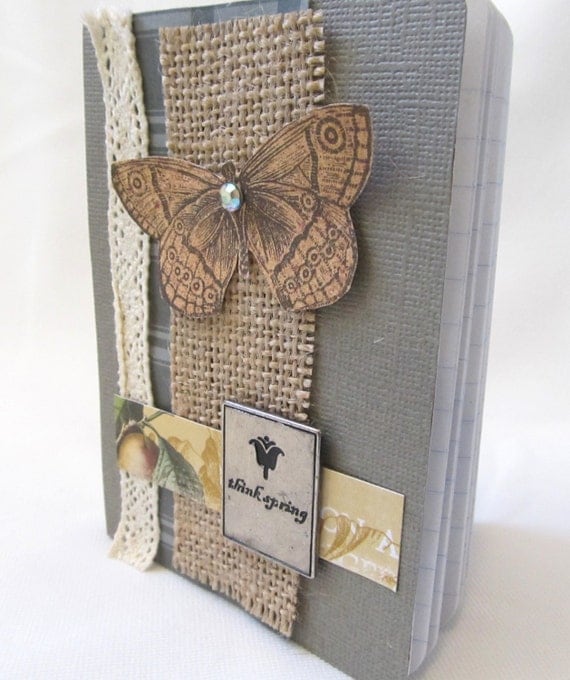
Vintage style items have always caught my eye. The popularity of shabby chic is a trend I have really embraced. I love working with lace, burlap, and small decorative embellishments.


My creativity has taken me in new directions also and I began to make mini journals and decorative boxes:


There are so many sources for inspiration – nature, magazines, books, a scrap of paper or a piece of fabric. Walking through the craft shops is always exciting … but can be expensive!!

I am thankful for my customers and take pride in offering them a unique and handcrafted item. It is my hope that they enjoy their purchase and take pleasure in having something made with much thoughtfulness. 

You can visit Beth's shop at : www.etsy.com/shop/prettybyrddesigns

* * *

Meet our Guest Blogger Beth from Pretty Byrd Designs :

Pretty Byrd Designs was opened in 2013 as a way to offer my handcrafted cards and paper goods. I am a secretary by day, but my true passion is in designing and creating paper crafts. I welcome you to visit my shop and browse around. It would be my pleasure to help you with a card or gift for any occasion.


Saturday, January 18, 2014

Introduction to Fiber Art Designs, Thread Embroidery & Silk Ribbon Embroidery

Hi, I’m Nancy. I’m an arts and crafts enthusiast. I live in the entertainment capital of the world, Las Vegas, Nevada! Instead of spending my time and money on the strip gambling and seeing all of those awesome shows and concerts I choose to do my own style of entertainment, crafting and making a little winnings from them to boot!
Today's article is an introduction to fiber art designs, thread embroidery and silk ribbon embroidery.
My Etsy shop, called onestitchaway1, is where I share my original, quirky fiber art designs in which I have incorporated vintage inspired embroidery stitches and silk ribbon embroidery.  The base fiber I use for my animals is felt that has been recycled from post consumer plastic bottles!  How do they do that? And my unusual Lady Bug hot pads are made of recycled lady’s suit fabric.

What is Fiber Art?  

Fiber art is defined as the binding of fibers into nonfunctional forms as works of art.  For example, here are some items created by team members that fall into this category, as "felted animals":


Fiber art works can also be works of art that communicate some sort of message, emotion or meaning and go beyond just the literal meaning of the materials. Wall hangings and artificial floral wedding bouquets are an example of this. 


Crazy quilters have taken it a step further by adding thread embroidery and/or silk ribbon embroidery to their work.  Of course, these last two art forms are used in many, many other fiber art mediums.


In this day and age we have become very clever in the use of fibers such as in vintage or just plain old clothing by altering the piece to update it or give it our own flair like the jacket pictured below, fashion accessories that are eye-catching such as the mittens pictured below and home decor that brighten up and give it character.  All of these make a functional part of our daily lives. 


This article hopefully will inspire fabric crafters to try these different methods of handiwork taking their project to the next step by enhancing their fabric art.  Happy creating!

* * *

Many thanks to our guest blogger, Nancy!

Visit Nancy's shop on Etsy : https://www.etsy.com/shop/onestitchaway1


PRESENTED TO YOU BY OUR LEADER: 


My name is Natalie. I am a French-Canadian gal, but I live in South Korea. My passion is called "Hanji" : sumptuous Korean paper made of mulberry pulp. Hanji has been used for a thousand years in Korea to create decorative or ceremonial objects. For me, it is essential to offer useful and practical objects, that can enjoyed on a daily basis. Tissue cases, pen holders, piggy banks, fridge magnets: let the beauty and unique character of Hanji make our everyday life objects irresistible!


www.etsy.com/shop/HanjiNaty

Follow Natalie's Blog For The Latest Updates To Her Shop

www.hanjinaty.com


Thursday, December 12, 2013

Snowflakes Fall - Snowflake Tutorial And Tribute

Snowflakes Fall - “Each one a pattern all its own, no two the same all beautiful.”

Snowflakes Fall is a beautiful tribute to the town of Newtown, CT and the children and teachers who perished in the tragic events at Sandy Hook Elementary School, December 14, 2012. Snowflakes Fall is written by Newbery Medalist Patricia MacLachlan and award-winning illustrator Steven Kellogg, a long time resident of Newtown, CT. This is a moving story of the unique imprint each child brings to the world and the reminder that life operates in cycles just like water that makes snowflakes in the winter, nourishes flowers in the spring.  

Snowflakes Fall is available as an E-book online or in hardcover at local bookstores or your local library. The snowflake is a beautiful symbol of the seasons of life and a perfect gift for family and friends to celebrate the joy of being together or as a remembrance for loved ones who have passed on. There are many beautiful snowflakes created by talented hands on Etsy, some of which can be found in my Snowflakes Fall Treasury which includes elements from this stunning book.

'Snowflakes Fall' by papersoildesigns

"No two the same - all beautiful" - Snowflakes Fall by Patricia MacLachlan and Steven Kellogg, a tribute to the children and families of Newtown, CT.

Blue Rhinestone Crystal Big Snowflake Pin Brooch Q371 - AnhsJewelry
Blue Rhinestone Crystal...
$21
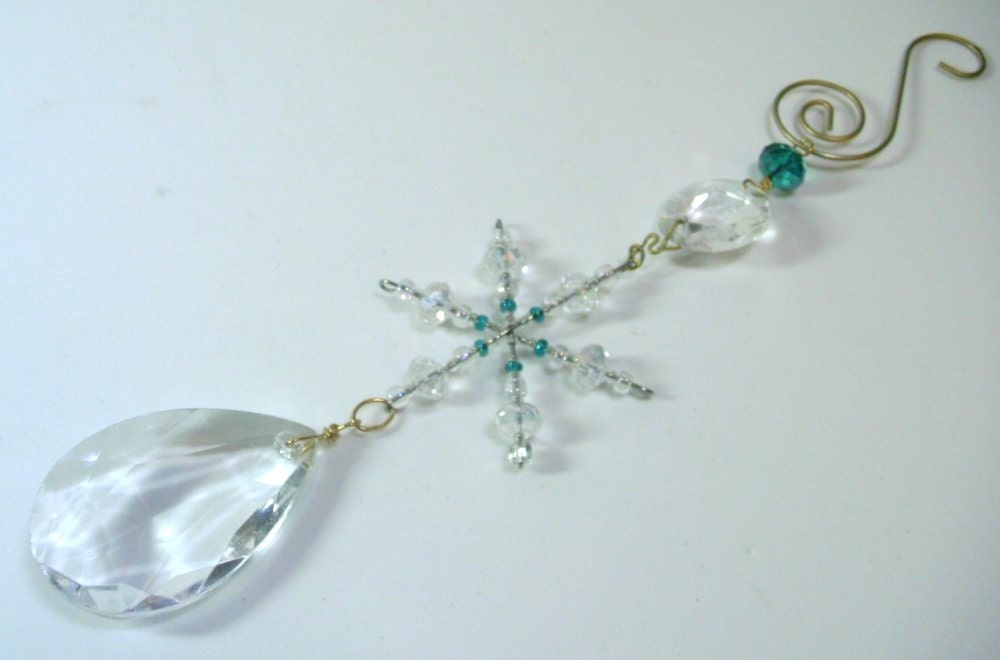
Hand Crafted Heirloom  Ornament with  Lamp Crystal Teardrop and Crystal Bead Snowflake - OOAK - Grannycatz
Hand Crafted Heirloom ...
$15
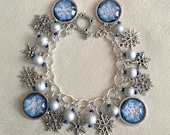
Winter Wonderland Snowflakes Charm Bracelet with Drizzled Drawbench Beads - ChimeraCharms
Winter Wonderland Snowf...
$38
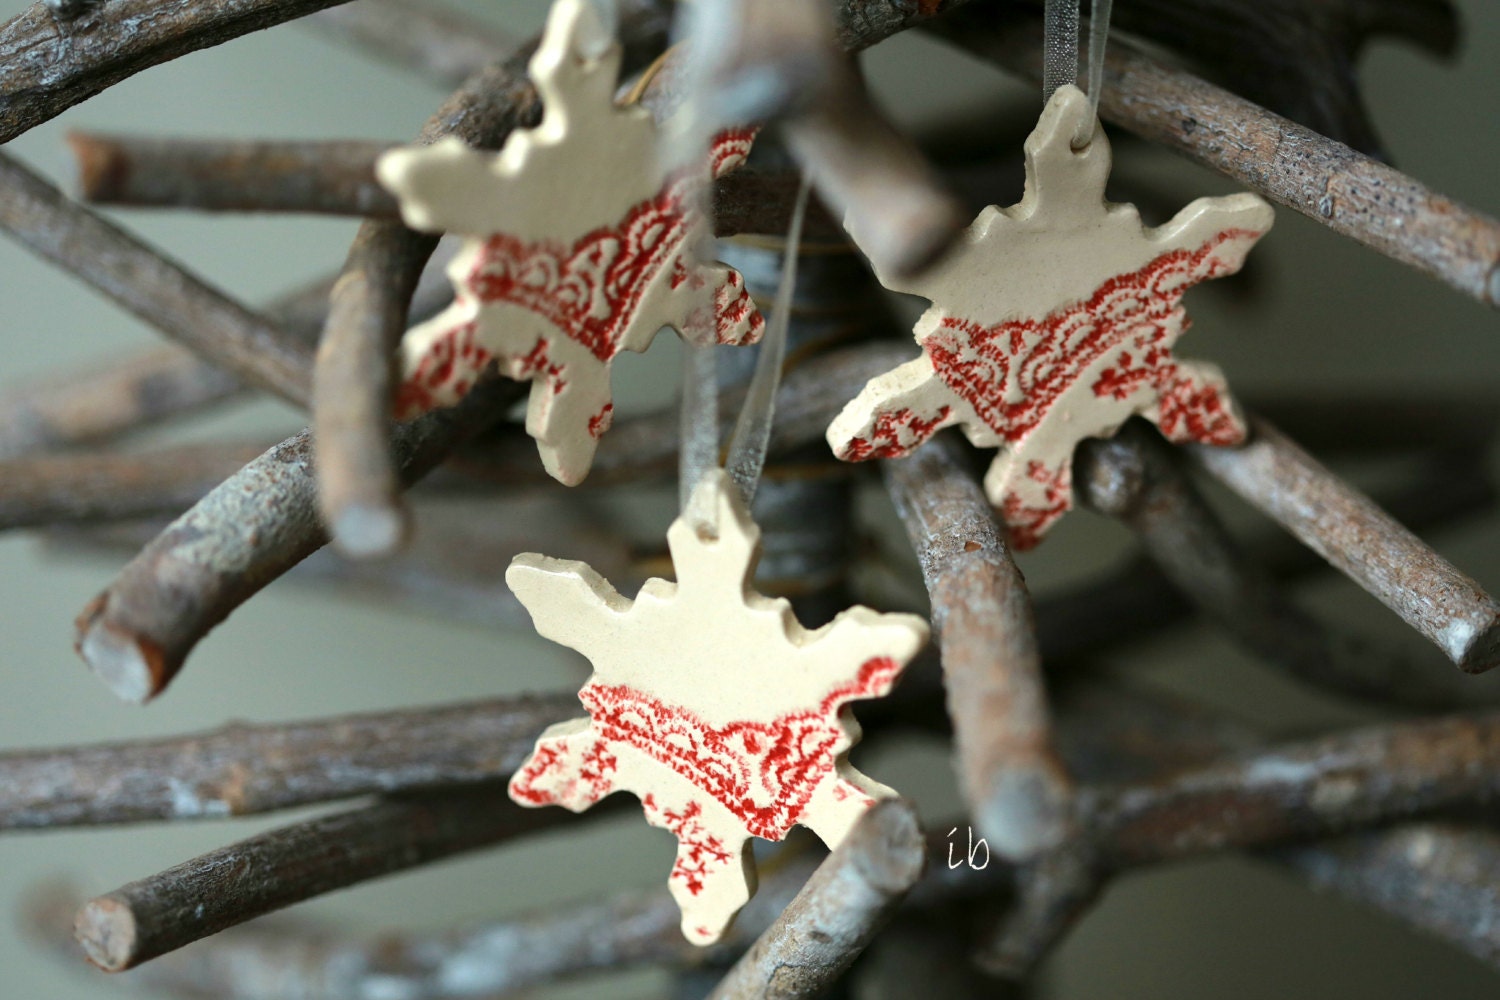
Snowflake Pottery Lace Decoration White Red Ceramic Ornament Set of 3 Wedding Gift - Ceraminic
Snowflake Pottery Lace ...
$16
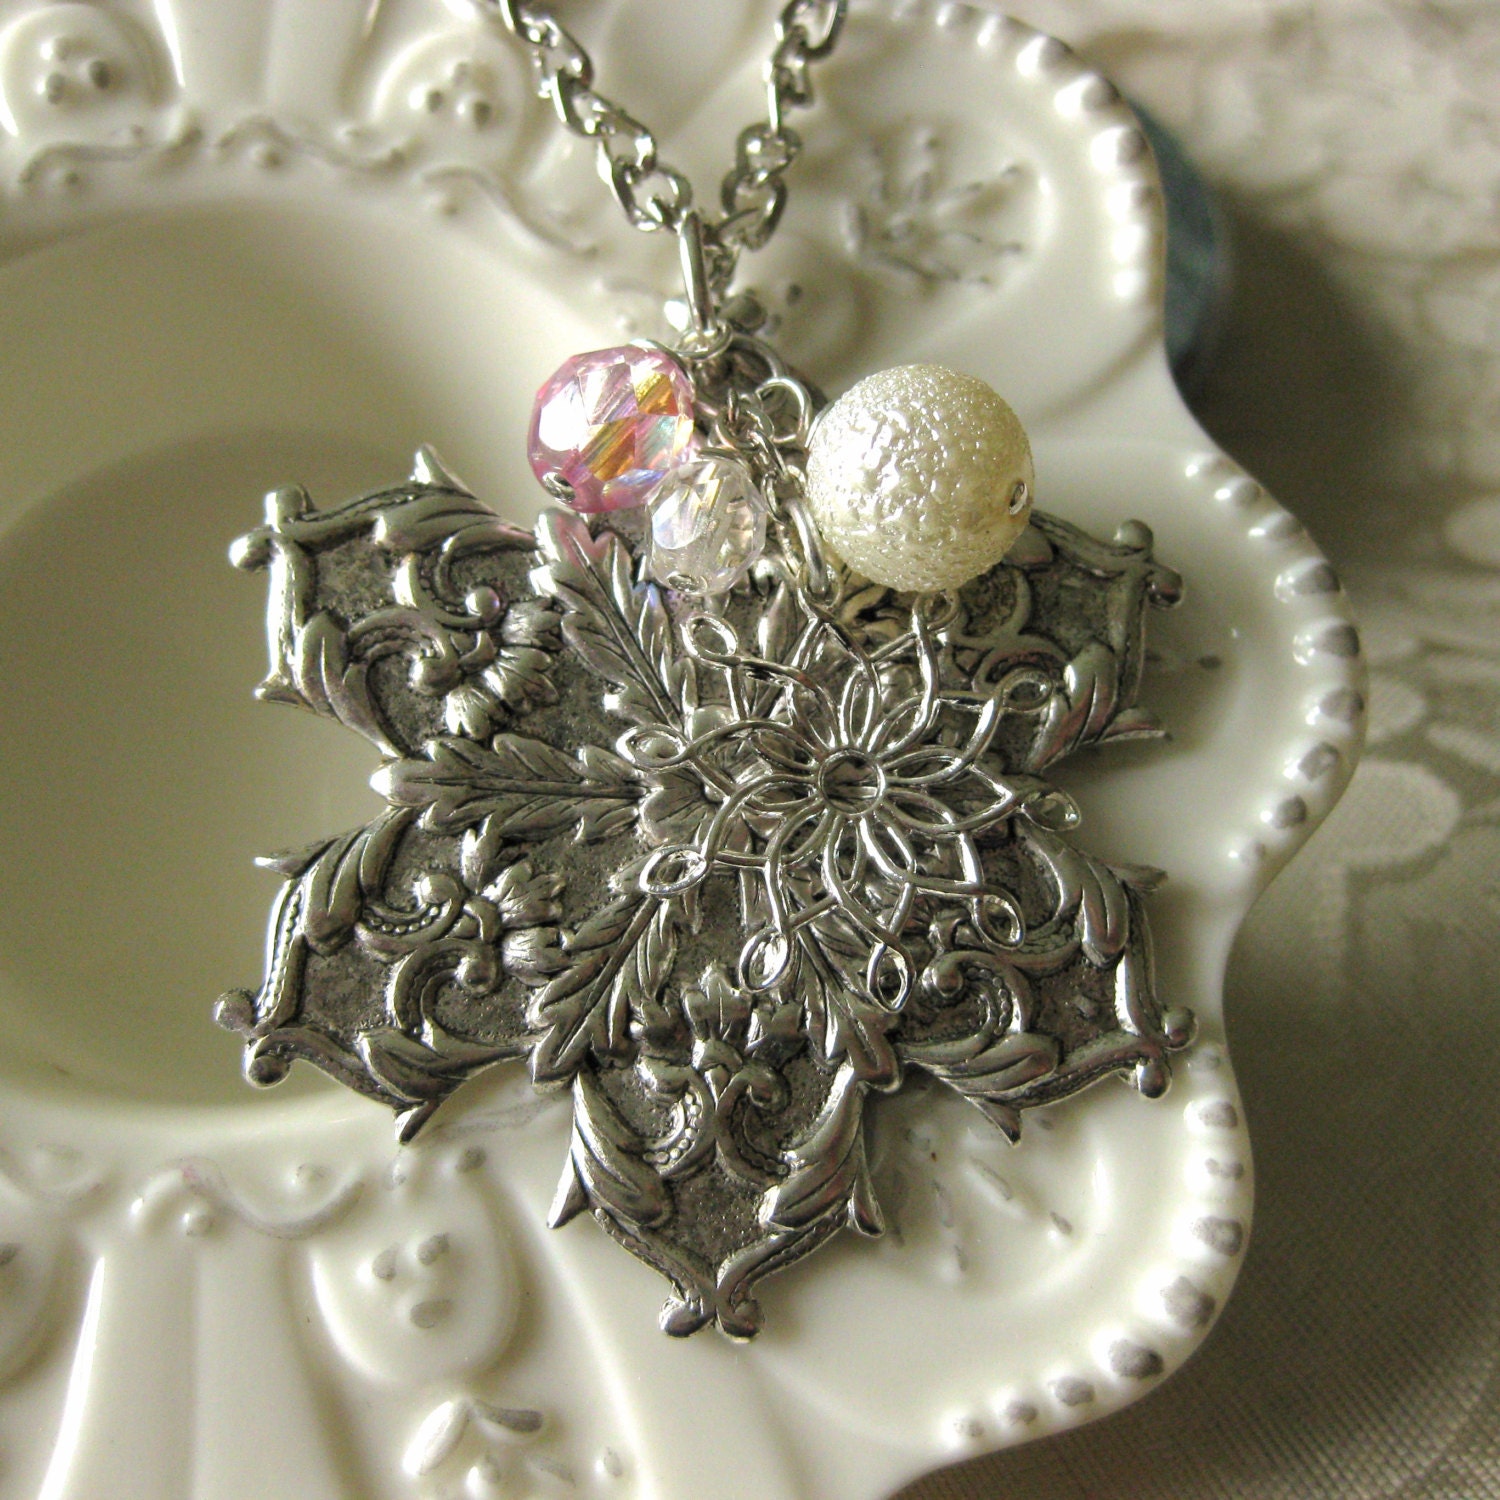
IN A WINTERS GARDEN - vintage snowflake necklace snow crystal - TheQueensDowry
IN A WINTERS GARDEN - v...
$25
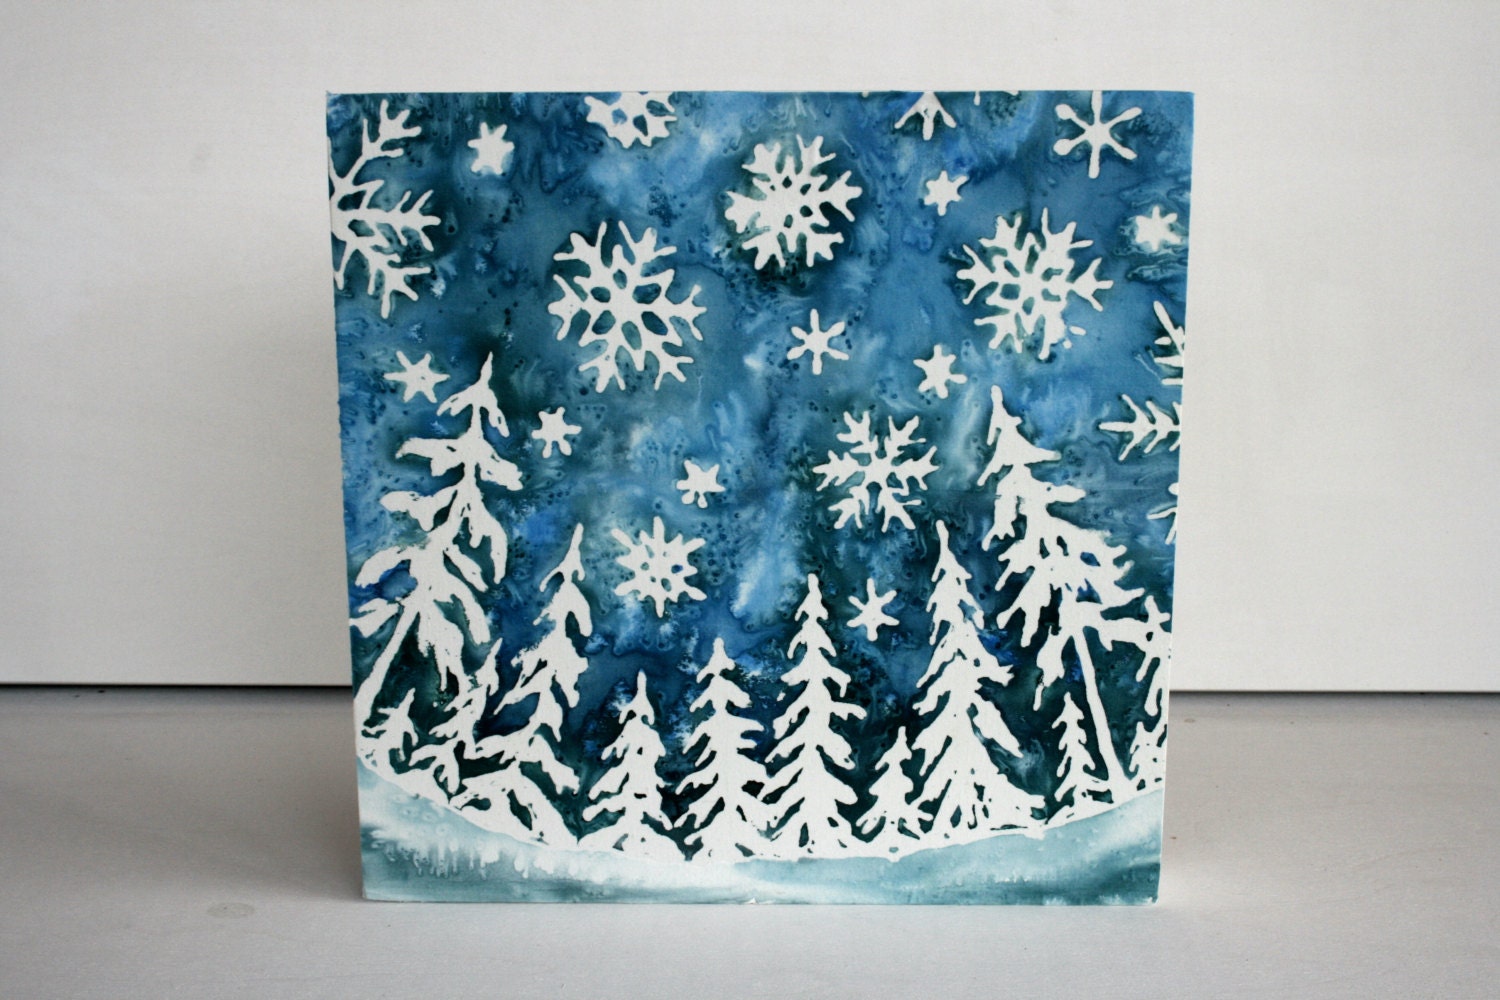
Snowy Skies  - Original Silk Painting  on Wood 10 X 10 - TwigsandBlossoms
Snowy Skies - Original...
$85
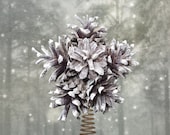
Pine cones star snowflake Christmas tree topper - AttitudeNature
Pine cones star snowfla...
$15
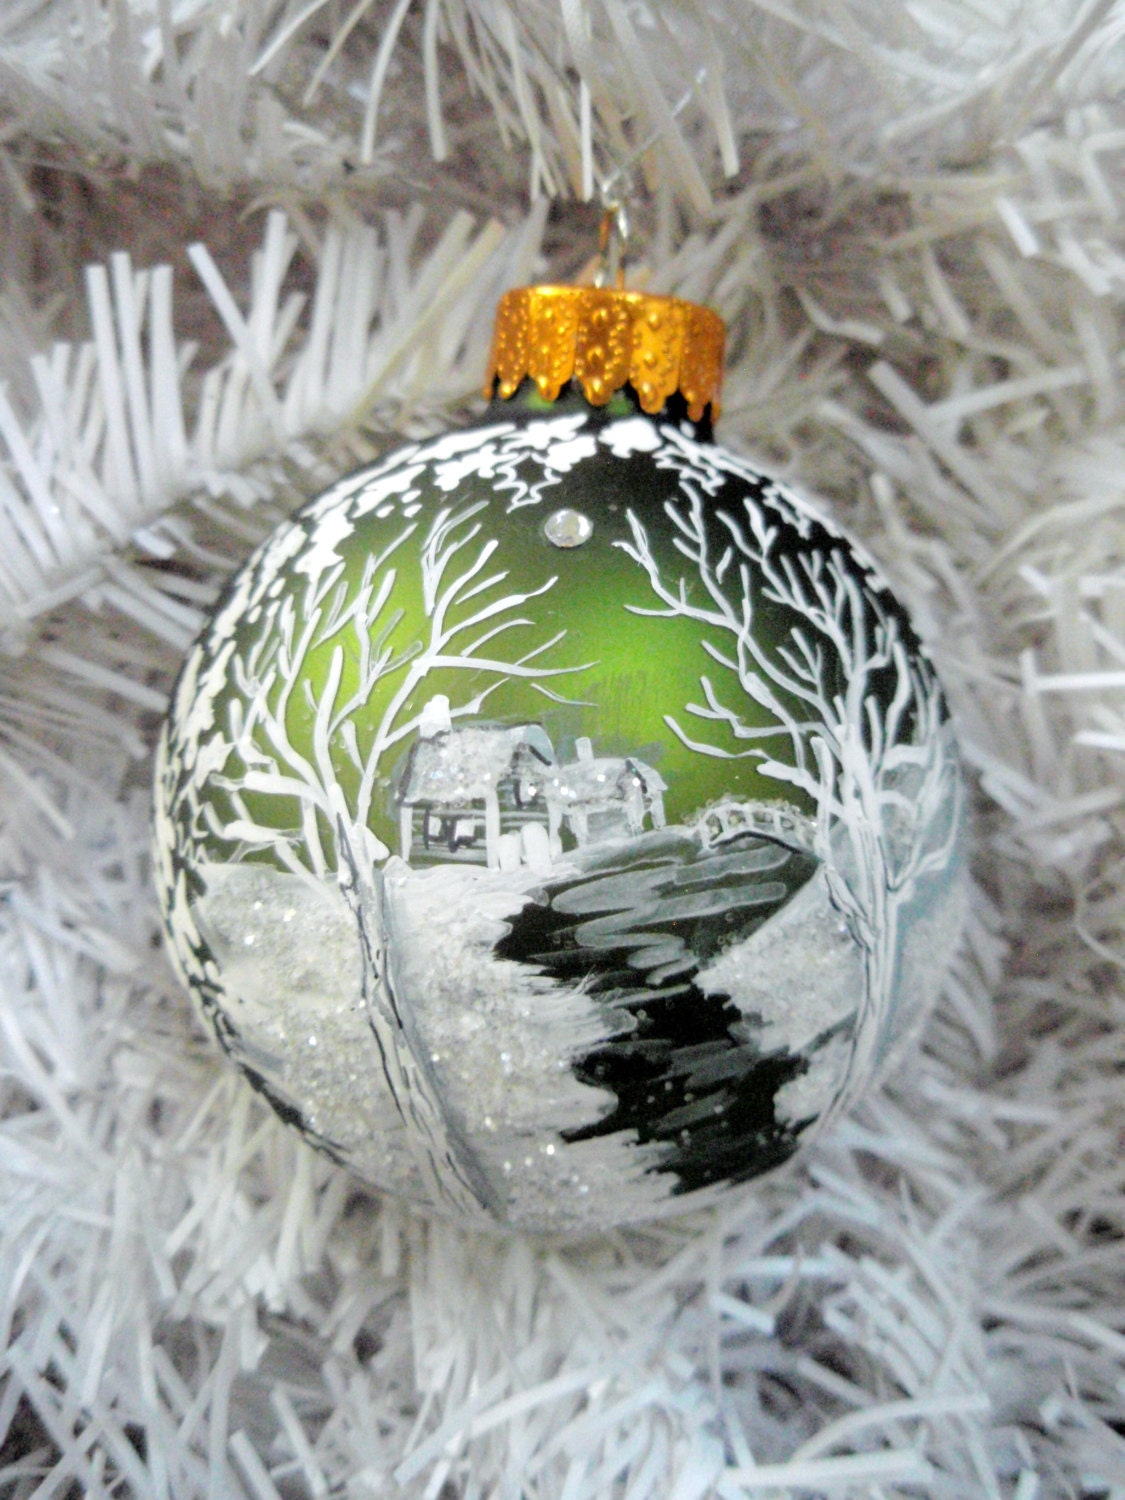
Personalized Painted Christmas Ball- Meandering Creek Snow Cabin by River, White Winter Landscape Handpainted Moss Green Glass Ball Ornament - PickleLilyDesign
Personalized Painted Ch...
$20
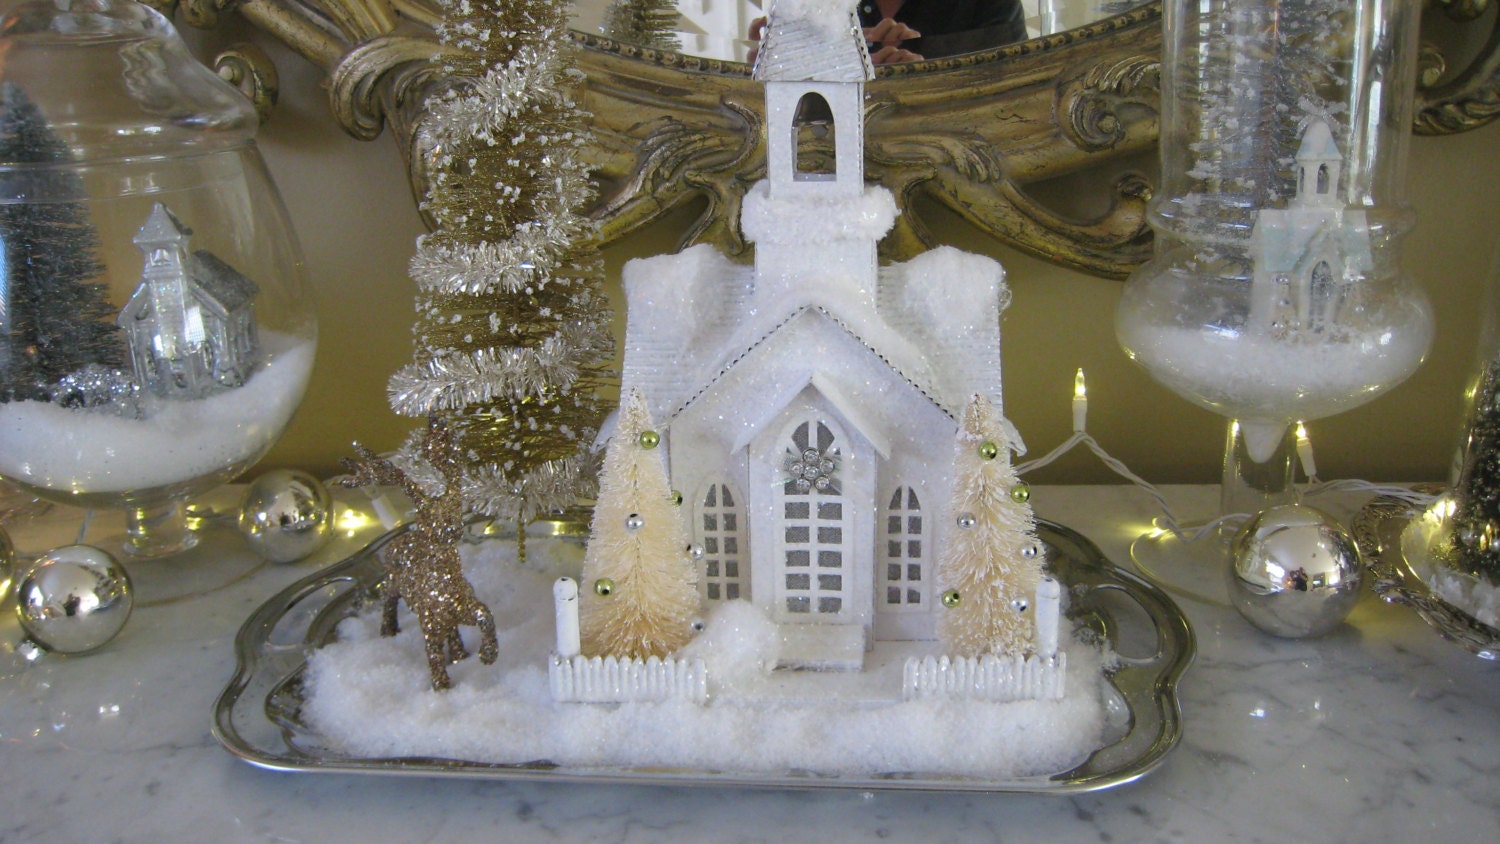
ON SALE Christmas Snowy Church Vignette on Vintage Silver Tray - elegantentrances
ON SALE Christmas Snowy...
$95
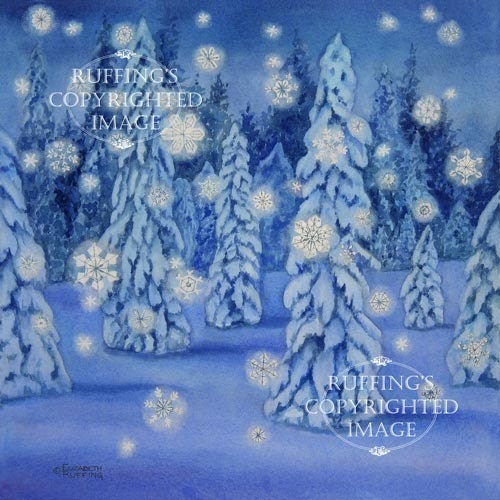
Snowy Night Giclee Fine Art Print, Blue Snow Scene with Snowflakes, Signed Elizabeth Ruffing, on 8.5 x 11 inch art paper - ruffings
Snowy Night Giclee Fine...
$22
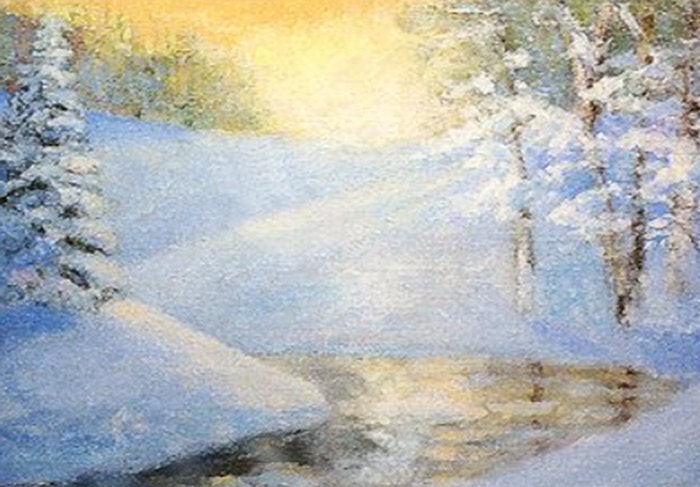
Morning Snow Scene, Fine Art Print of My Original Acrylic Painting - bobmierfineart
Morning Snow Scene, Fin...
$19
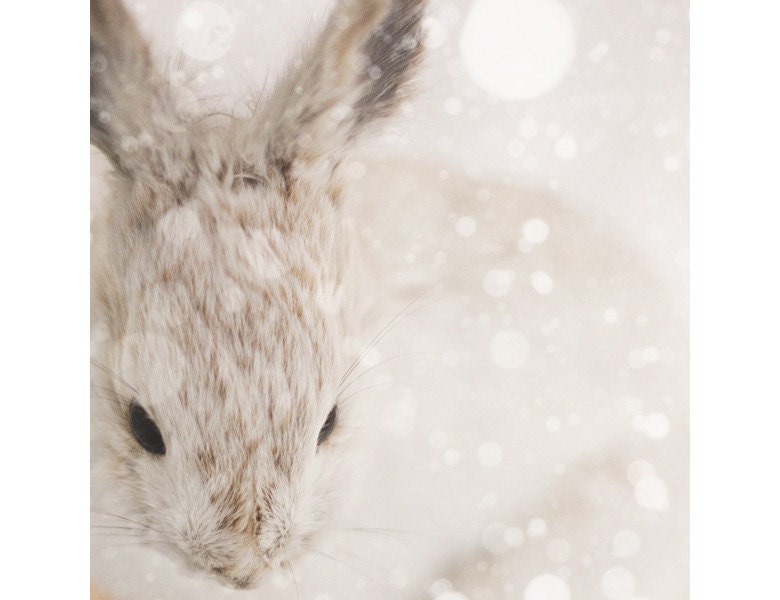
Snow Bunny - Nature Photography, Cute Nursery Art, Animal Print, Winter Snow, Rabbit, White, Beige, Neutral Decor, Minimal - EyePoetryPhotography
Snow Bunny - Nature Pho...
$15
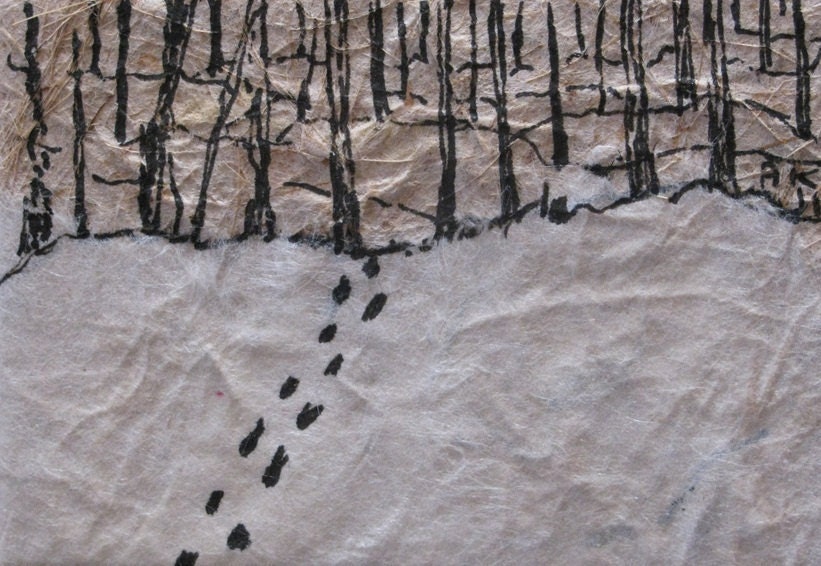
Miniature pen and ink drawing: footprints in the snow - AKandKO
Miniature pen and ink d...
$22
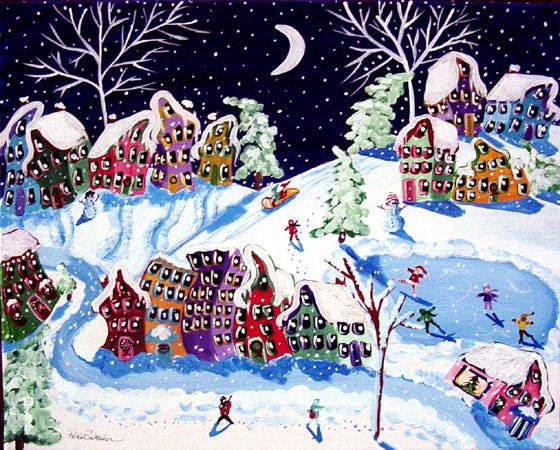
Winter Sled Ride Folk Art Kids Ice Skate Snow Whimsical Canvas Original Painting - reniebritenbucher
Winter Sled Ride Folk A...
$139
The snowman, children, snow, snowman, snow angels,  Original Acrylic naive painting - treeartist
The snowman, children, ...
$450
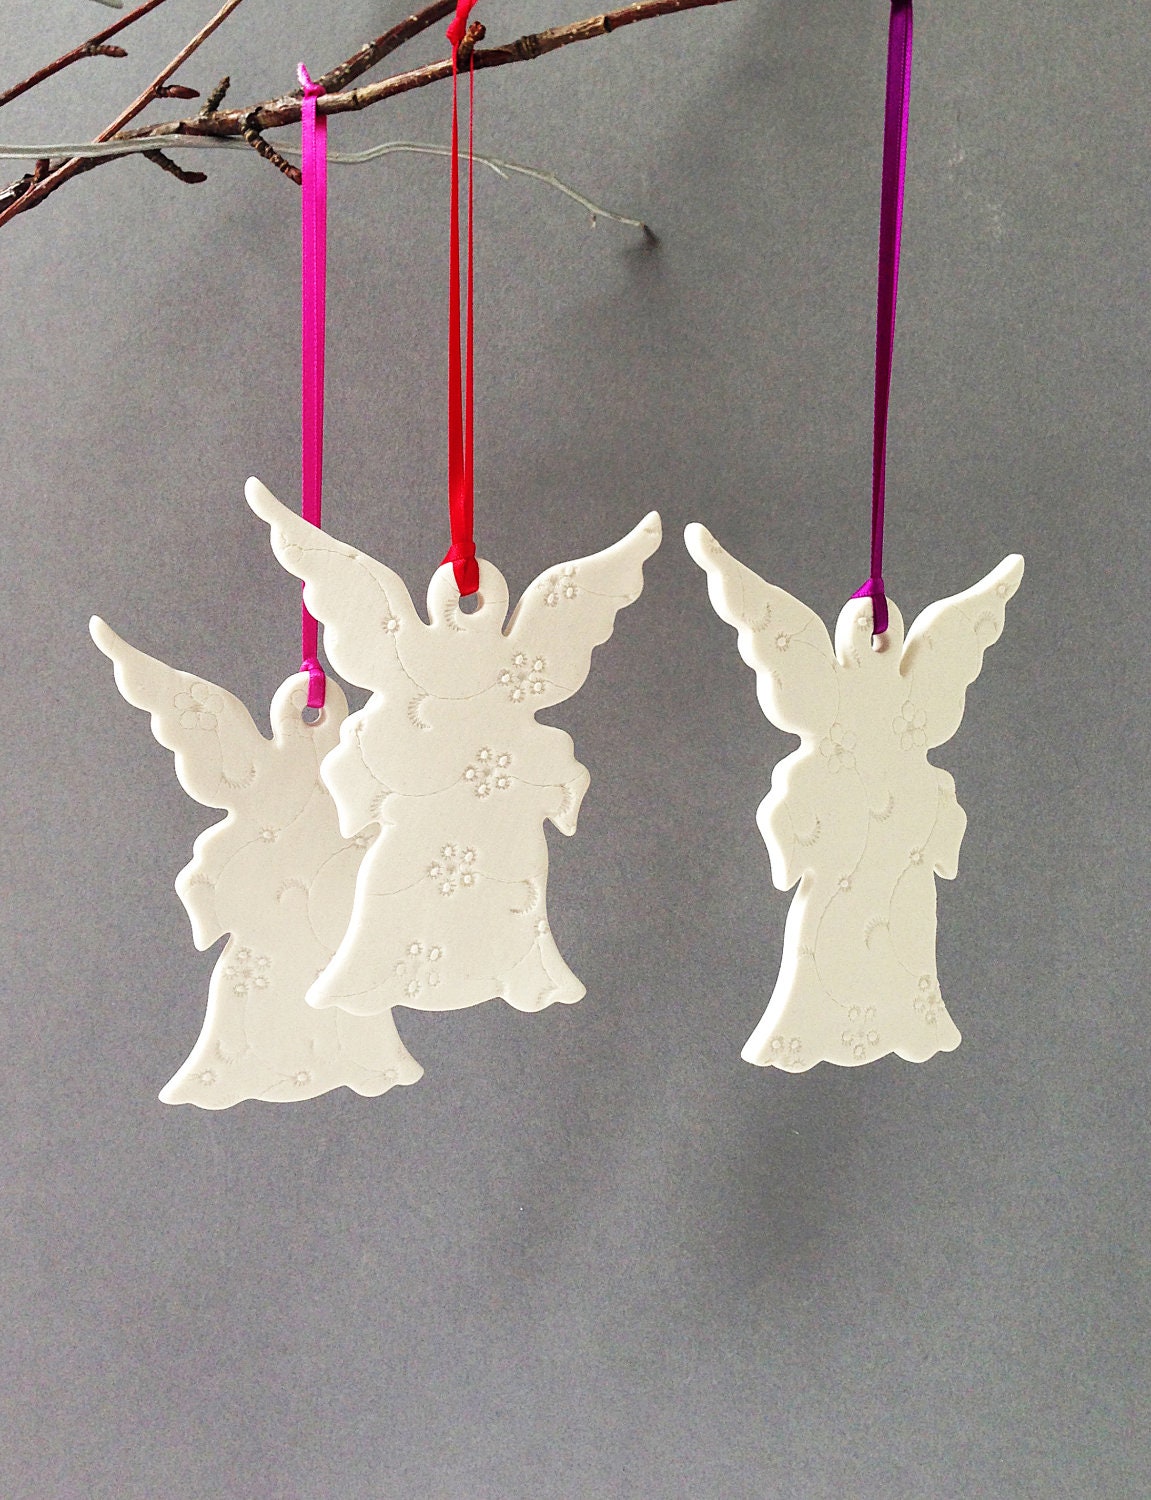
3 Large Christmas Angel Ornaments - Three White Porcelain Christmas Snow Angels Ornaments Modern Holiday ornaments - PrinceDesignUK
3 Large Christmas Angel...
$25

I’ve always enjoyed making snowflakes.  A few years ago, I discovered stained glass snowflakes which I have used to decorate the library where I work to the delight of our customers. These snowflakes light up any room with a splash of holiday color. I have also made stained glass snowflakes to adorn our christmas tree at home, one for each member of our family. You can find out how to make these lovely snowflakes with this simple tutorial : www.parentteachplay.com/stained-glass-snowflake-craft

Wishing you a peaceful holiday season and many beautiful snowflakes.


MEET OUR GUEST BLOGGER: 
I developed a love of creative use with simple materials from my experience with my own children and working with children in an urban library who all bring a diversity of vibrant, joyful perspective to my life. I strongly believe in the power of visuals to help people maintain positive focus in their lives. My store reflects the synergy of simplicity and creative perspective with gifts and items that infuse light and beauty into the lives that they touch.


Friday, December 6, 2013

Get Cozy for the Holidays ~ Knitting Socks 101


This time of year, you’ll likely find me padding around my house in a cozy pair of hand knit socks. I enjoy making them almost as much as I enjoy wearing them.

However, I had been knitting for many years before I attempted to make my first pair of socks. I was always intimidated by the patterns because you knit some sections in rounds, some in rows and it seemed like there were a lot of different parts for such a small item of clothing.

Here is the basic anatomy of a knit sock :


Ankle - In western countries, socks are usually knit from the leg or ankle down to the toe. This section is worked in the round, typically with 4-5 double pointed needles (dpn). Usually it’s worked in a ribbing pattern to provide some elasticity.

Heel (or Heel Flap) - After the leg or ankle section of the sock is completed, half of your stitches are placed on a holder or spare needle to be worked later and half become the heel of the sock. This section is worked back and forth in rows in a combination of knit and slipped stitches to create a denser fabric.

Turn Heel - This section can be a little tricky the first time you knit a sock. You are still working in rows, but not all the way to the end of the needle as you may be used to. There is also a significant amount of decreasing (ssk and p2tog) as this small section is shaped.

Gusset - The gusset is where you begin working in the round again. You will work across the turn heel, pick up stitches along one side of the heel flap, work the stitches you had placed on a holder and finally pick up stitches along the other side of the heel flap. This is done by placing the stitches onto three dpn. As you work this section, you decrease (k2tog and ssk) some of the stitches that were picked up along the sides of the heel to create a diagonal line on each side of the sock. The section is complete when you have the same number of stitches you originally cast on left on your needles.

Foot - This section is the easiest part of the sock because you just work in rounds without any decreasing.

Toe - Stitches are evenly decreased along each side of the sock. The final stitches are not bound off like in most knit projects. Instead, the final stitches are grafted together using the Kitchner stitch.


Before I knit my first sock, I was also concerned about grafting the toe. I had been taught to bind off all my knit edges, so I thought using the Kitchner stitch to graft unfinished edges together would be difficult.

The Kitchner stitch is actually fairly simple. When you get to the last round of your sock you should have the same number of stitches divided evenly across two needles. Hold the needles parallel so that your last knit stitch is on the back needle. You will be using the tail of your last stitch, threaded through a plastic yarn needle, to graft from right to left.

Step 1: Bring the needle through the first front stitch as if to purl and pull the yarn through.

Step 2: Bring the needle through the first back stitch as if to knit and pull the yarn through.

Step 3: Bring the needle through the first front stitch as if to knit. Pull the yarn through and drop the stitch off the knitting needle.

Step 4: Bring the needle through the next front stitch as if to purl and pull the yarn through.


Grafting - Step 1
Grafting - Step 2
Grafting - Step 3
Grafting - Step 4


Step 5: Bring the needle through the first back stitch as if to purl. Pull the yarn through and drop the stitch off the knitting needle.

Step 6: Bring the needle through the next back stitch as if to knit and pull the yarn through.

Repeat Step 3-6 until one stitch remains on each needle.

Grafting - Step 5
Grafting - Step 6


Step 7: Bring the needle through the last front stitch as if to knit. Pull the yarn through and drop the stitch off the knitting needle.

Step 8: Bring the needle through the last back stitch as if to purl. Pull the yarn through and drop the stitch off the knitting needle.

Grafting - Step 7
Grafting - Step 8


Now that you know the basics of sock knitting, don’t be afraid to give them a try. They make great holiday gifts.


Need a pattern? I have two free, printable PDFs for my favorite slipper socks available on my blog at, http://thechillydog.blogspot.com/2013/11/his-and-hers-slipper-sock-patterns.html.

Happy knitting!


Meet Our Guest Blogger Ellen from  The Chilly Dog:
My name is Ellen and I have been making things for as long as I can remember. There isn't a craft I've tried that I haven't loved. I sew, quilt, scrapbook, knit, crochet, paint, bead... You get the point. I've designed and made blankets, curtains, formal wear, furniture, holiday decorations, mosaics, sweaters, hats and even an awesome coyote mascot. The list is never ending. I find it deeply satisfying to start with an idea and some yarn, fabric, or paint and finish with an interesting, useful and beautiful product that someone will enjoy for years to come.

If you’re curious about my business name and logo, they were inspired by our dog. She was a wildly fabulous Mexican Hairless Dog. Yep, she was hairless and therefore chilly from time to time. I loved her fun and unique spirit and feel it embodies my approach to crafting. 

Many thanks to Ellen from The Chilly Dog for having shared this fantastic Knitting Tutorial with us :

http://www.etsy.com/shop/thechillydog

Spread some SPST love and support our fellow Teammies :-)


❄ If you are an artisan with a tutorial to share, we'd love to hear from you too!!! We welcome you to participate in our Team Blog. Please leave a comment along with your website address and we will get right back to you. Or contact any of our Team Leaders here: